
Our Salty B*tch Kimchi Salt starts as a simple fermented ginger garlic sauerkraut - the recipe for which was developed in Kat's kitchen about 10 years ago as a way to use up all the cabbage she grows in the garden. It is a riff on traditional kimchi - capturing the ginger, garlic and gochugaru umami-ness - whist still using readily available Scottish ingredients.
We now make it in 300kg batches, but the basis of the recipe works for just one big jar of kimchi for your house.
Napa cabbage is the traditional option for kimchi, but we've never had much success sourcing or growing it here. We use white cabbages in our kimchi, as they grow well in Scotland and you get a lot of bang for your buck.
The kimchi-style kraut recipe is based on a single head of cabbage weighing about 1000g, which is what we find most standard cabbages come in at once you take out the core and outer leaves. If your cabbage varies wildly from this, adjust your salt so that it comes in at about 3% of your overall weight of vegetables in your mix.

Kat's Kimchi Style Kraut Recipe
10 min
0 min
4 pers
Side Dish
United Kingdom
Ingredients
- 1000g grated white cabbage (about one large head, with the outer leaves and core removed)
- 300g grated carrot (two large carrots)
- 200g white onion (one medium white onion)
- 20g peeled garlic cloves (about 4 cloves)
- 40g fresh ginger
- 45g salt
- 10g gochugaru chilli flakes
Directions
- Grate the cabbage, retaining a few of the larger outer leaves to use as fermentation weights.
- Grate the carrots.
- Peel and dice the onion, garlic and ginger, then place into a food processor or a pestle and mortar and blend/bash into a paste.
- In a large bowl, combine the grated vegetables with the paste, mixing them well to ensure that they are evenly coated.
- Add the salt and gochugaru
- As you mix, gently squeeze the vegetables with your hands. This bruises the cell walls of the kimchi vegetables and helps release their juices.
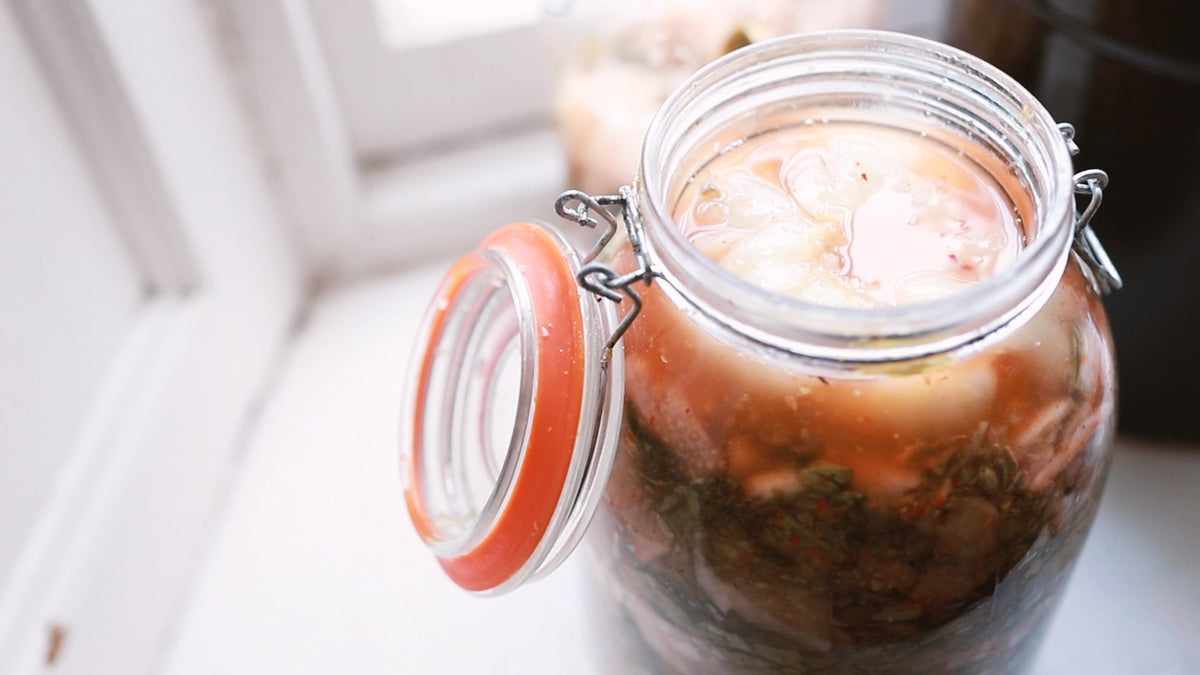
- Pack the mixture tightly into the bottom of a glass jar or ceramic pot, gently pushing down with your fist to release more juice.
- Top up the mix with water if required. This makes a delicious base for kimchi soup later and ensures the vegetables are submerged.
- Scrape down and clean the inside of the kimchi jar with a spatula then weigh the mixture down with a fermentation weight or folded cabbage leaf to keep everything under the liquid.
- Cover the jar with a muslin square or tea towel so it can breathe and nothing gets in. Or if you are using a clip top jar, remove the gasket and seal.
- Leave the kimchi to ferment in a warm place at around 20-25°C. If it’s cooler then it will just take longer.
- Check and taste the kimchi daily after day 3, making sure the vegetables are always submerged in the brine. Depending on your taste and the room temperature, this can take around 3-14 days.
- The kimchi is ready when it tastes sour and tangy.
- Place in fridge. Will last about 6 weeks.